|
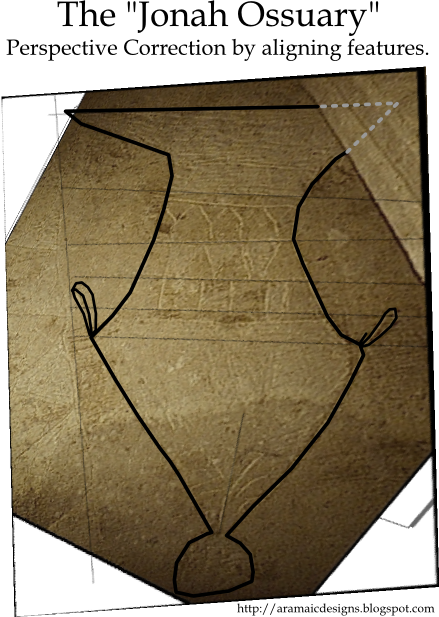
| The original image on the left, the image that was corrected from a skewed angle shot on the right. |
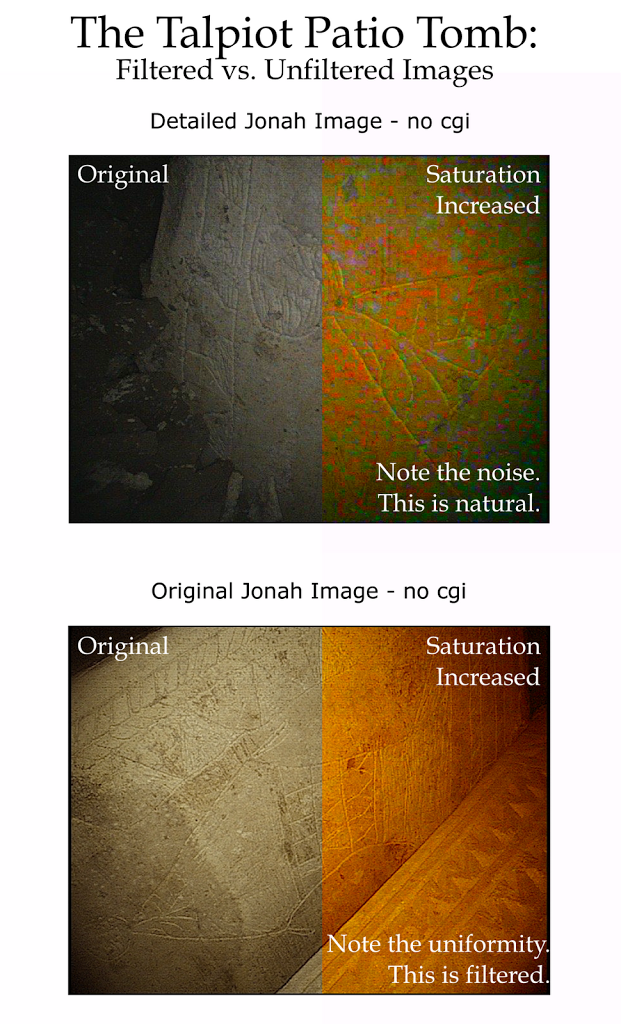
So image manipulation can be fun when you do not have a reference to compare something to. This is why in my last post, Dr. Tabor made a very good comment:
What I asked Bob I will ask you. If you took a clear straight on picture of your face, tiled it at 45degrees, took a shot of it, at that angle and from the side a bit, then used these techniques to “correct” perspective do you think you would end up with a photo that pretty much looked like you, proportional and pixel wise. In other words, does the stretching process shift things around. Maybe you can give it a try. It would be interesting.
I had actually been working on something just like that on and off for the past week or so to make sure that the technique I was employing worked properly without adding anything untoward to the final image.
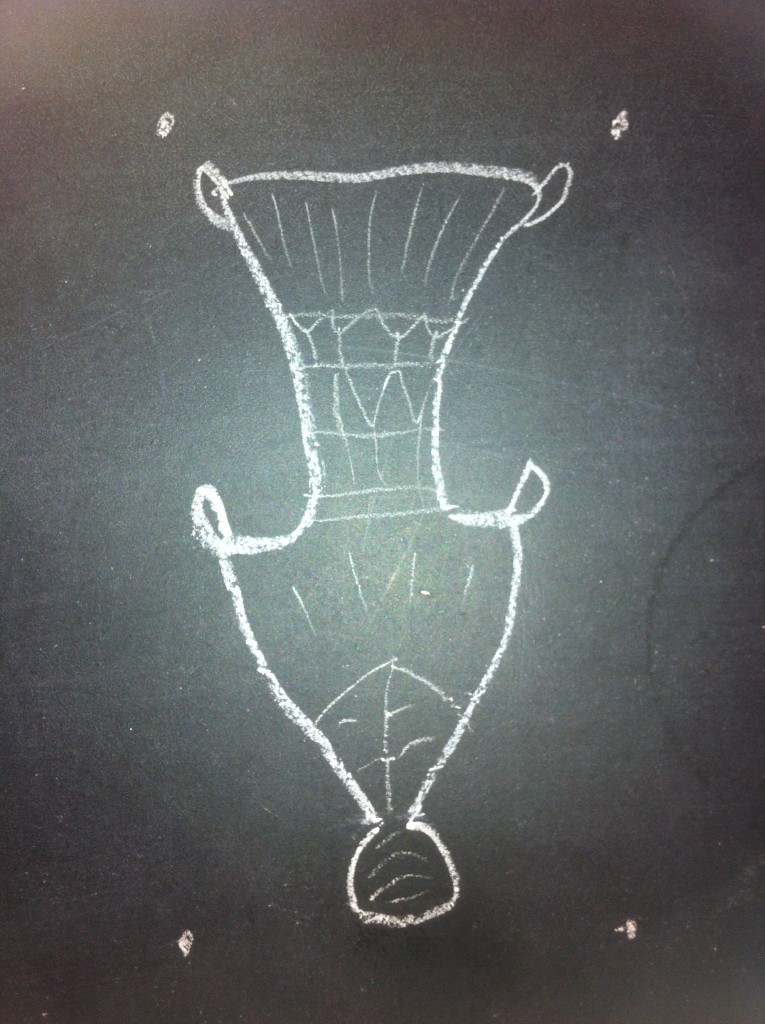
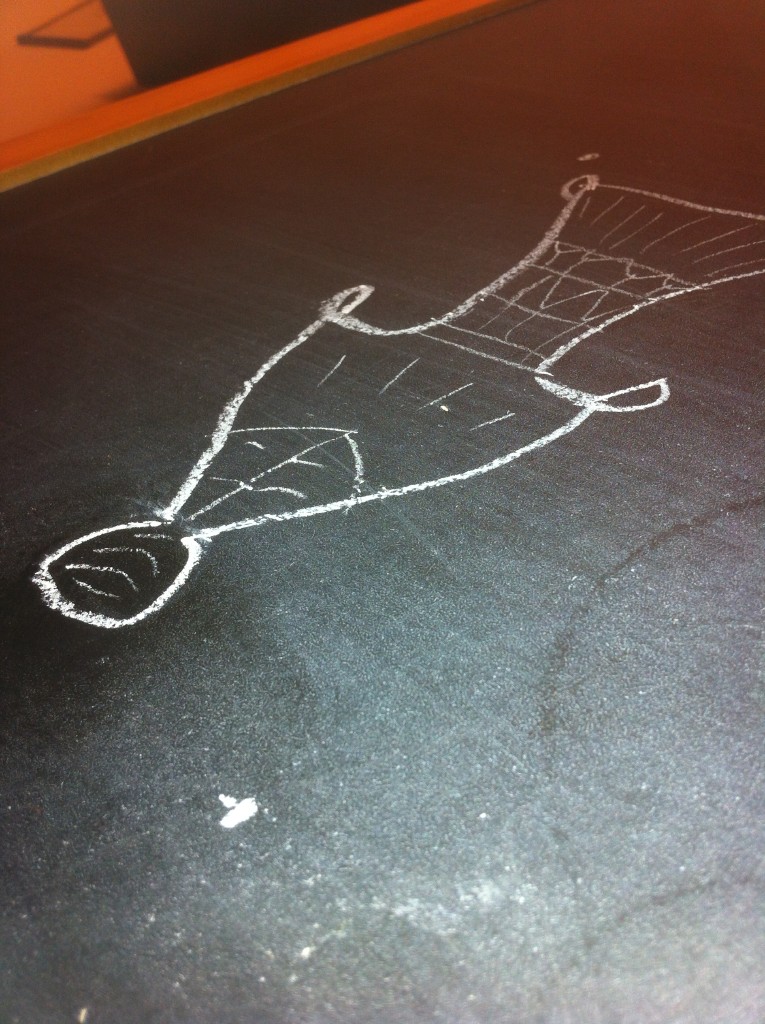
Let’s take the following chalk doodle:
 |
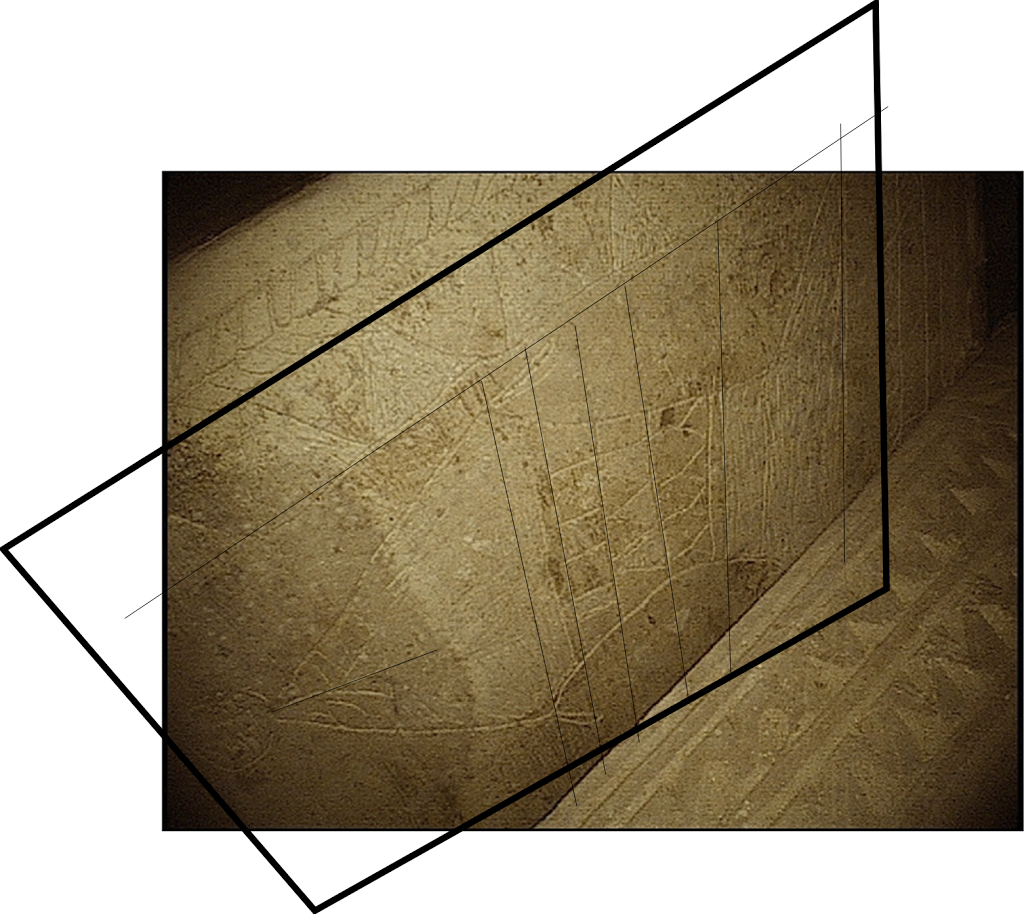
| Head-on full perspective shot of our inscription. |
I know I am not a master artist, but I tried from memory to reproduce a number of features on the “Jonah Ossuary’s” image roughly. It’s not completely well-formed and not completely symmetrical, but it isn’t too bad either (or so I like to think). 🙂
Also note the four dots. These are (quite literally) points of reference. If I were to skew this image in any direction, and still have these four points of reference and a rough idea of the ratio of the image’s width and height, it’s a simple matrix transformation to bring this image back to its original size.
This is why if we had a single shot of the Ossuary image that showed its top, side, and bottom borders, there would be no problem adjusting for perspective.

However, the images we have are missing some of these points of reference, simply because of how cramped the ossuaries in the tomb were packed. At best we can get one or two of them at a time.
In my reconstruction, I was able to estimate where the missing points of reference were by following the contours of known lines on the inscription and plotting where they intersected.
 |
| Note how the flat base look rounder now. |
So, with using my masterpiece drawing, I took a shot on a high angle where I was missing points of reference.

From there I traced the contours of the image from what points of reference I had to estimate where the other points of reference might lie, “gridding” things out. As you can see, most of these lines are (excusing the pun) straightforward. 🙂

From there I applied the matrix transform, plus a few degrees of skew to compensate for camera lens distortion (as I did with my prior reconstruction) and this is what I got.
|
|
Comparing it to the original image, we can see that my method is not perfect, but it’s an extremely good approximation with negligible distortions.
In doing this I have realized ways that I can refine my original reconstruction:
1) Lens distortion can sometimes leave straight lines curved. This is especially the case with a fish-eye or wide-angle lens; however these can be corrected by using a simple filter in GIMP that can re-map one view angle to another.
2) Tracing contours can be made easier by checking other photos for reference. The bottom-most feature is nearly up against the bottom border in one shot, where in the large sepia shot I used the border was not easily visible. Lining those two photos up will allow a better approximation of the bottom-right corner of the reference frame.
3) The final image width-to-height ratio is very important. I based mine off of the relative proportions on the reproduction ossuary, but again checking the other photos more closely will allow a better approximation (which won’t be much different, but every grain of accuracy counts). 🙂
All in all, I think it works well.
Peace,
-Steve